No I haven’t fallen off the planet, I’ve just been listless and blah since the head cold but I’m slowly getting my spark back and this morning I got my clay out, the first time in a few weeks.
I ordered a set of cabezels a while back and this morning I’ve had a play with them and I think I like them. Definitely the kind of product the more you use the more proficient you become with it I think.
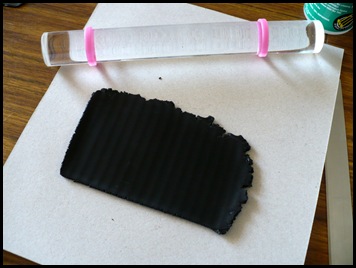
So first I rolled out some black clay on the thickest setting of my pasta machine.
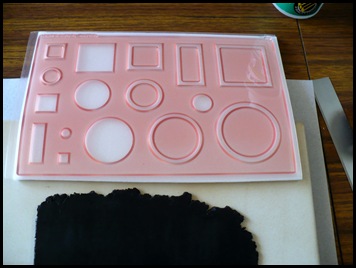
On the cabezel sheet there are two distinct shapes, one for the bezel and one for the cabachon.
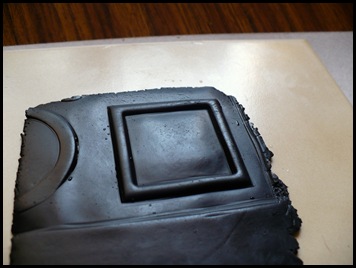
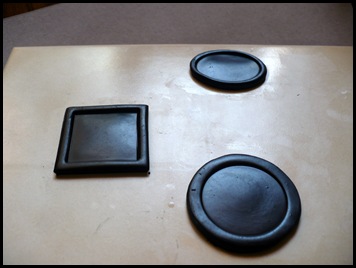
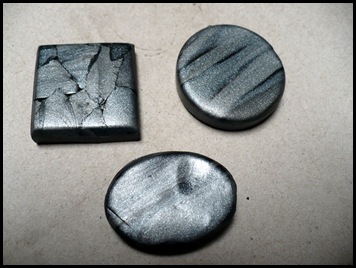
Once you’ve made the bezel impression it’s just a matter of cutting around the shape. As you can see I’ve made a square, circle and oval. The square was easy to cut out but the circle and the oval were a little trickier, but I think it just takes practice. These then get baked.
So while they are a cookin’ it’s time to make the cabochon. I used two layers of black on the thicket setting, sandwiched them together and then laid a thin layer of black and silver that I sort of marbled over the black.
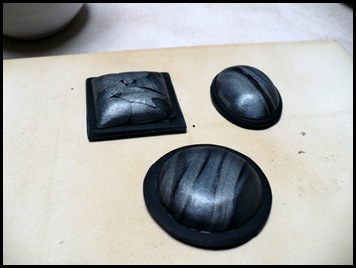
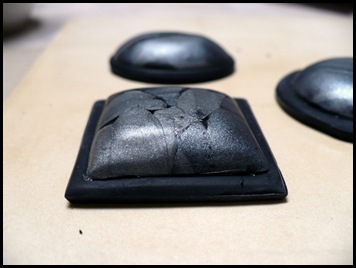
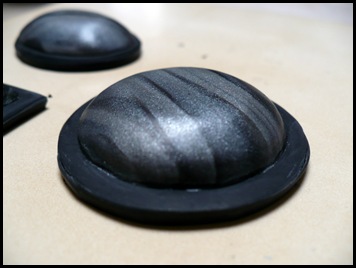
Once the bezels are cooked and cooled I just placed the cabachons on the bezel and gently pressed and rolled the edges down towards the edge of the bezel. I wore thin rubber gloves to do this so my finger prints wouldn’t show.
You end up with a lovely rounded smooth cab that fits quite snuggly into the bezel.
I’ll have a little bit of sanding to do especially the edges of the round and oval ones as my knife skills aren’t too good and the edges a slightly jagged in sections. But on the whole I’m quite pleased with my first attempts. I can see endless possibilities with these and when you have a look at Margaret's site you’ll see some gorgeous examples.


0 comments:
Post a Comment